Attaching Our Porch & Patio Screen Panels With a Single Stop is One of The Easiest Methods to Secure Aluminum Framed Window Screen Panels.
We Will Illustrate the Method Using a Mock Up of a Porch Screen Opening Below.
Measure Opening
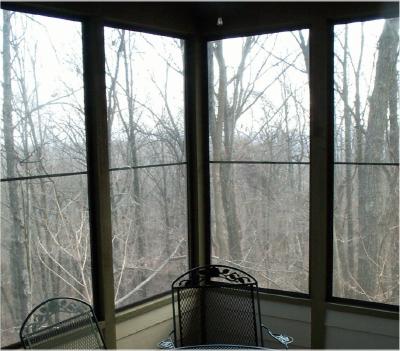
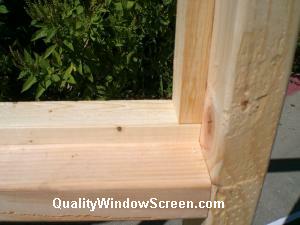
 We start with a bare opening made from made from either 2x4 or 4x4 wood as many patios and porches are constructed.
This represents the openings in a patio or porch design that we will use for illustrations. You may need to use your imagination to relate it to your own project.
Hopefully your openings will be relatively square.
Industry recommendations on maximum screen sizes is about 40 square feet.
We do offer our Patio and Porch Screen Panels up to 60" x 96" with a stronger 7/16x1 frame.
In general try to keep your porch or patio screens within a reasonable size.
Now is the time to measure for your patio/porch screen panel sizes.
- Measure opening width at top and bottom corners and note the smallest measurement.
- Measure opening height at left and right corners and note the smallest measurement.
- Subtract 1/16" to 1/8" from both width and height to allow easy insertion.
Attach Stops
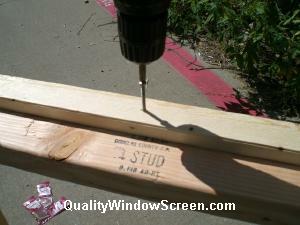
- First 1"x2" Stops are attached around all 4 sides outside flush with the outside edges.
- Drill pilot holes to prevent splitting the 1"x2" stops before putting the screws in.
- A #10 x 1 1/2" wood screw spaced about 12"-18" should work for this step.
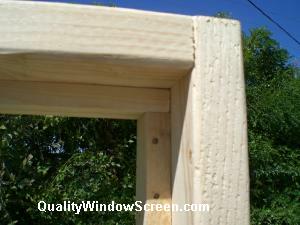
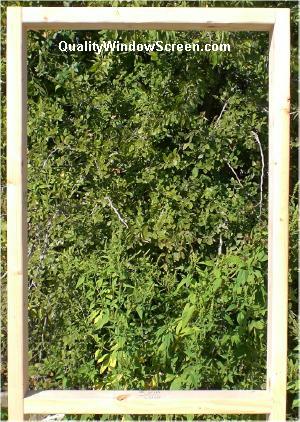
Your porch screen stops should look similar to this when you are finished with all 4 sides.
Depending on your abilities and tools, you may wish to miter cut the stops.
Attach Screen
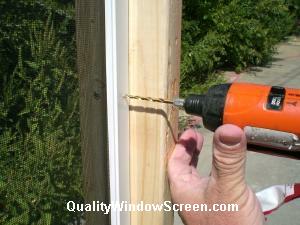
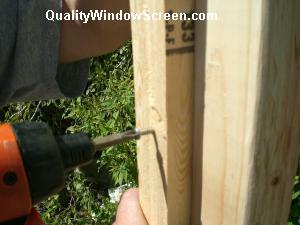
- Drill pilot hole through screen frame for a #10 x 1" screw.
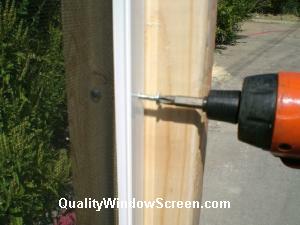
- Attach screen frame to the stop with a screw through the frame.
- Space screws about 12"-18" apart as desired for your sizes.
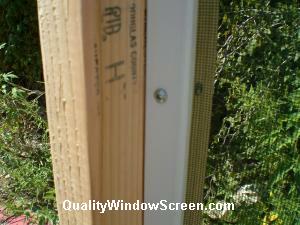 Finished screw attachment will look like this.
You may find some screws with color matching heads for a more finished look.
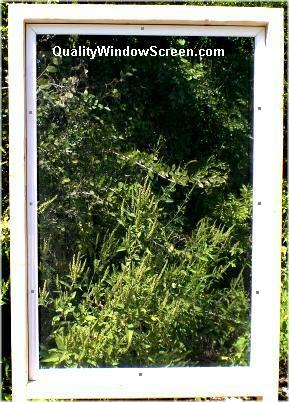 Patio or Porch Screen Panel Attached.

We Offer These "How To" Guides to Provide Some Guidance and Tips on Various Activities Related to Measuring, Ordering or Installing Window Screens, Solar Screens, Roll-Away® Retractable Window & Door Screens, Porch & Patio Screening Systems and Other Do-It-Yourself Screening Projects. Remember That We Cannot See Your Windows or Doors and That You Are Responsible For Determining Your Own Specific Needs. If the How To Guides Do Not Seem to Describe Your Project or You Do Not Understand Them, Feel Free to Contact us.